Filing your salaried income tax return online can be a convenient and efficient way to fulfill your tax obligations. In this step-by-step guide, we will walk you through the process of filing your return online, ensuring that you comply with the necessary requirements and provide accurate information. From gathering the required documents to submitting the final return, this guide will help you navigate the online filing system with ease. Stay organized and follow these instructions to successfully file your salaried income tax return from the comfort of your own home.
- Step 1: Gather the necessary documents
- Step 2: Register on the income tax e-filing website
- Step 3: Choose the correct ITR form
- Step 4: Download the form
- Step 5: Fill in the details
- Step 6: Validate the form
- Step 7: Generate XML file
- Step 8: Log in to the e-filing portal
- Step 9: Go to the “e-File” section
- Step 10: Select “Income Tax Return”
- Step 11: Upload the XML file
- Step 12: Verify the return
- Step 13: Submit the ITR-V
Step 1: Gather the necessary documents
Start by collecting all the relevant documents you will need to file your salaried income tax return online. This typically includes your Form-16 (provided by your employer), salary slips, bank statements, investment proofs, and any other supporting documents related to your income and deductions.
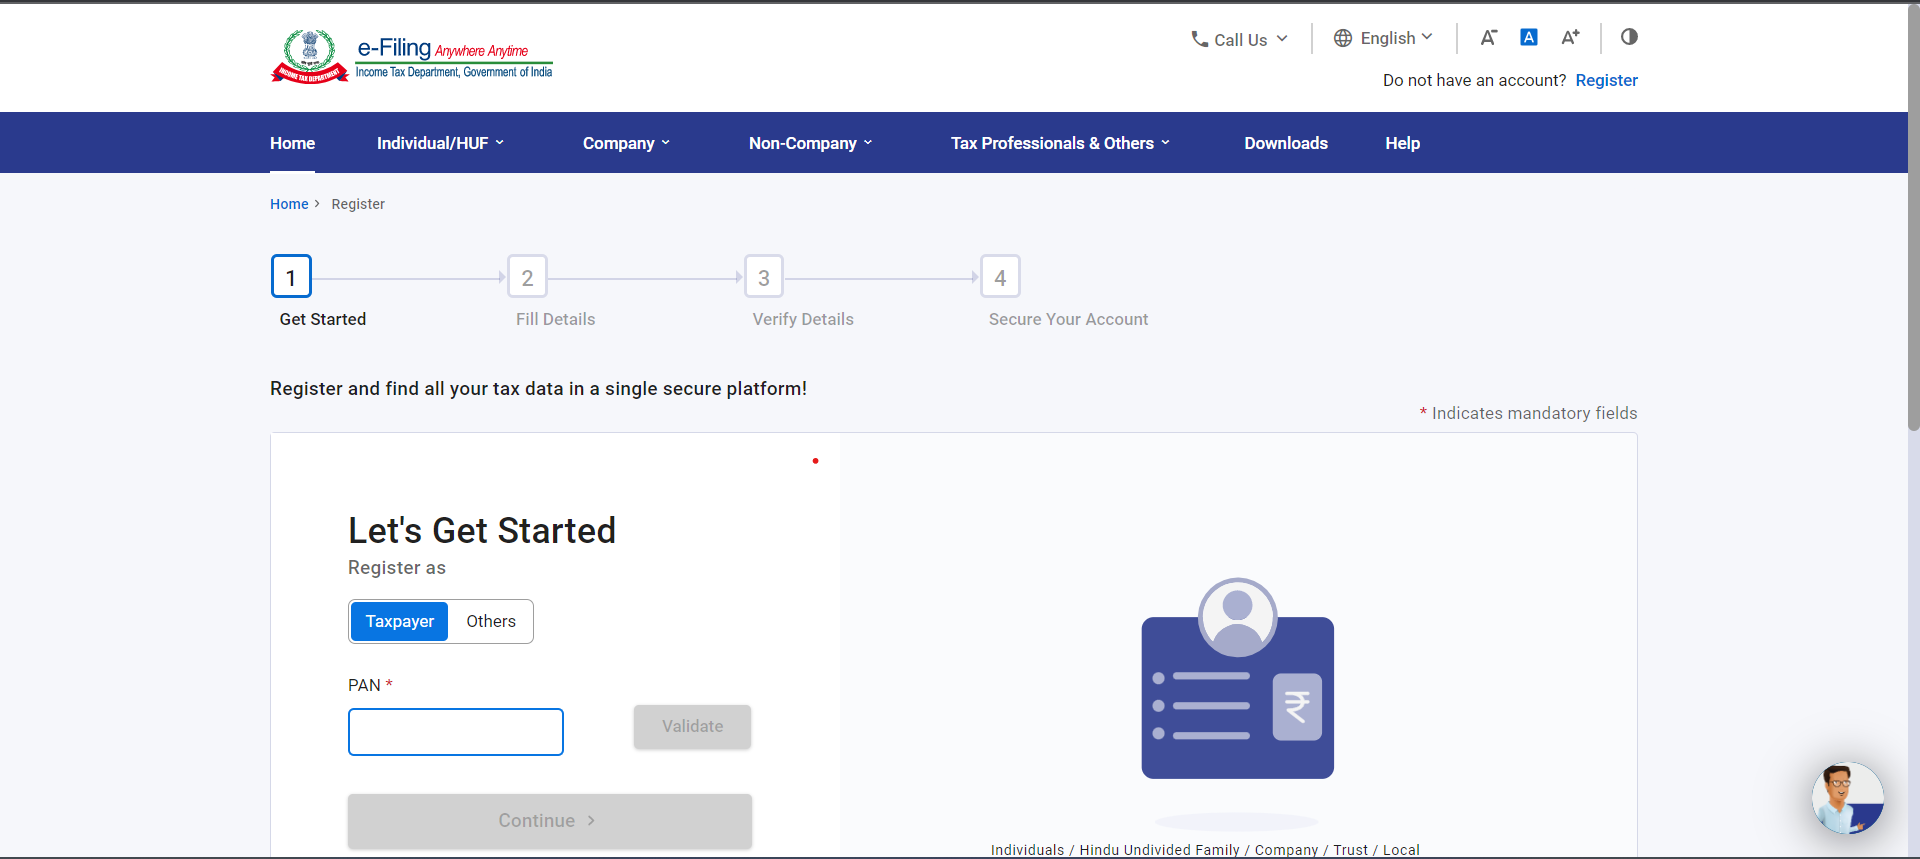
Step 2: Register on the income tax e-filing website
Visit the official website of the income tax department in your country and register yourself as a taxpayer. Provide the required details, such as your PAN (Permanent Account Number), name, date of birth, and contact information, to create an account.
Step 3: Choose the correct ITR form
Identify the appropriate Income Tax Return (ITR) form based on your income sources and financial situation. As a salaried individual, you will generally use ITR-1 (Sahaj) or ITR-2 forms. Ensure you select the correct form to accurately report your income and claim deductions.
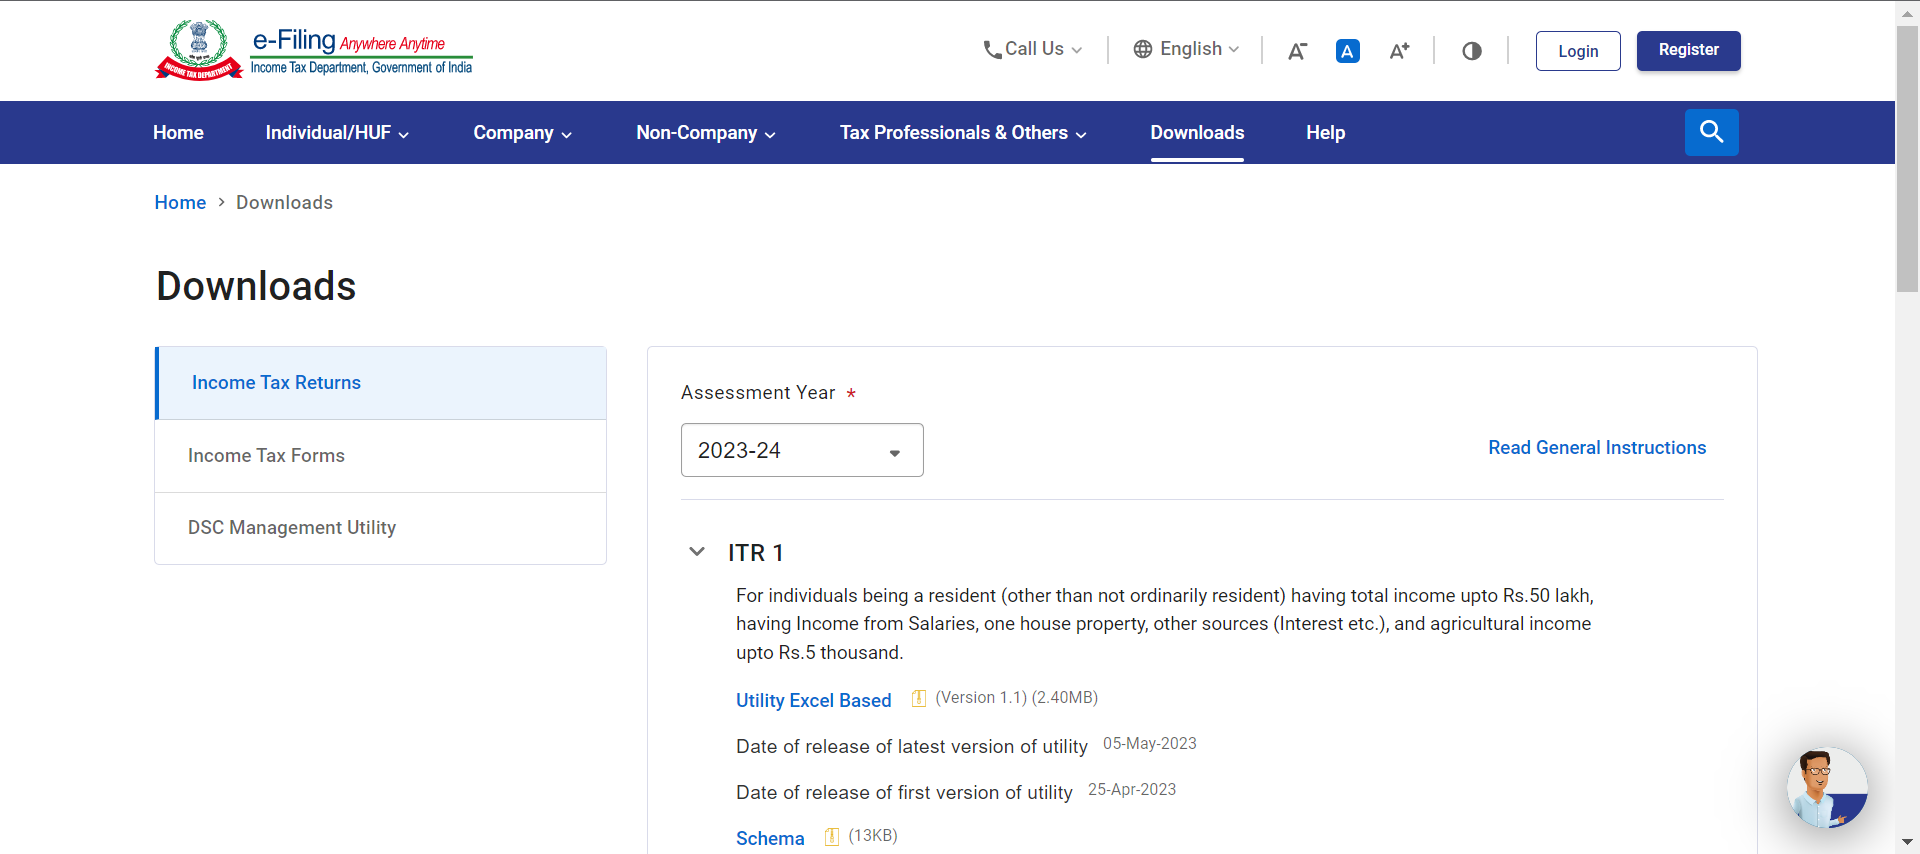
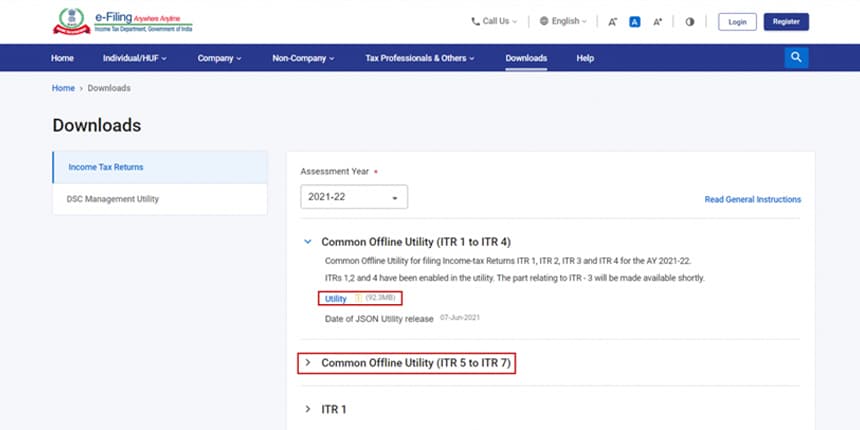
Step 4: Download the form
On the income tax e-filing website, download the selected ITR form in either Excel or Java utility format. Extract the ZIP file and open the form using the relevant software installed on your computer.
Step 5: Fill in the details
Begin filling in the required details in the ITR form. Provide your personal information, including your name, PAN, address, and contact details. Enter your salary details, such as income from salary, allowances, and any other sources of income. Report deductions you are eligible for, such as HRA (House Rent Allowance), standard deduction, and deductions under Section 80C, 80D, etc.
Step 6: Validate the form
Once you have entered all the necessary information, validate the form using the utility software. The validation process will check for any errors or inconsistencies in your entries. If any errors are found, correct them before proceeding.
Step 7: Generate XML file
After successfully validating the form, save the file in XML format. This XML file will be uploaded onto the income tax e-filing website.
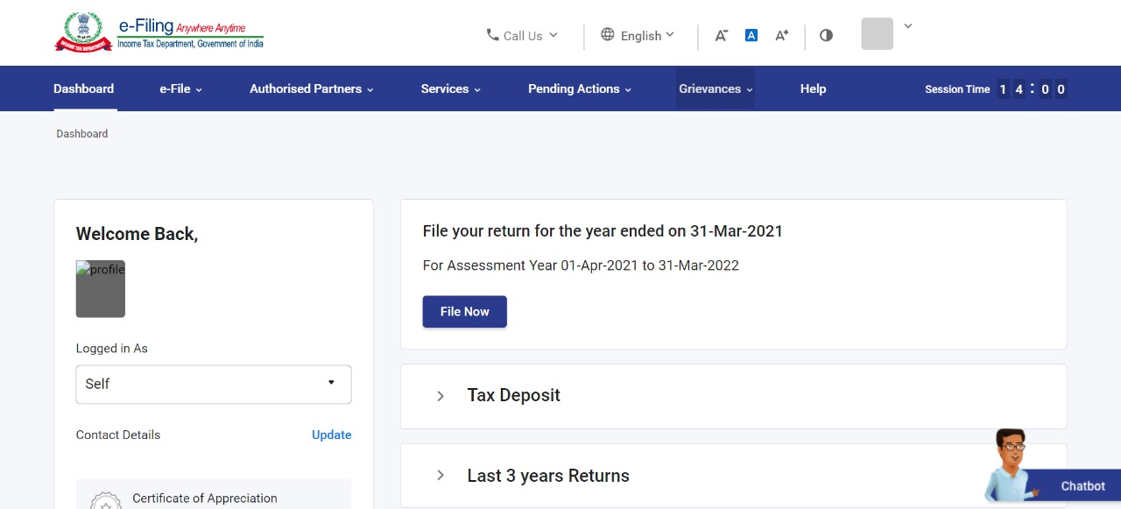
Step 8: Log in to the e-filing portal
Log in to your account on the income tax e-filing website using the credentials you created during registration.
Step 9: Go to the “e-File” section
Navigate to the “e-File” tab or section on the portal. Click on it to access the options related to filing your income tax return.
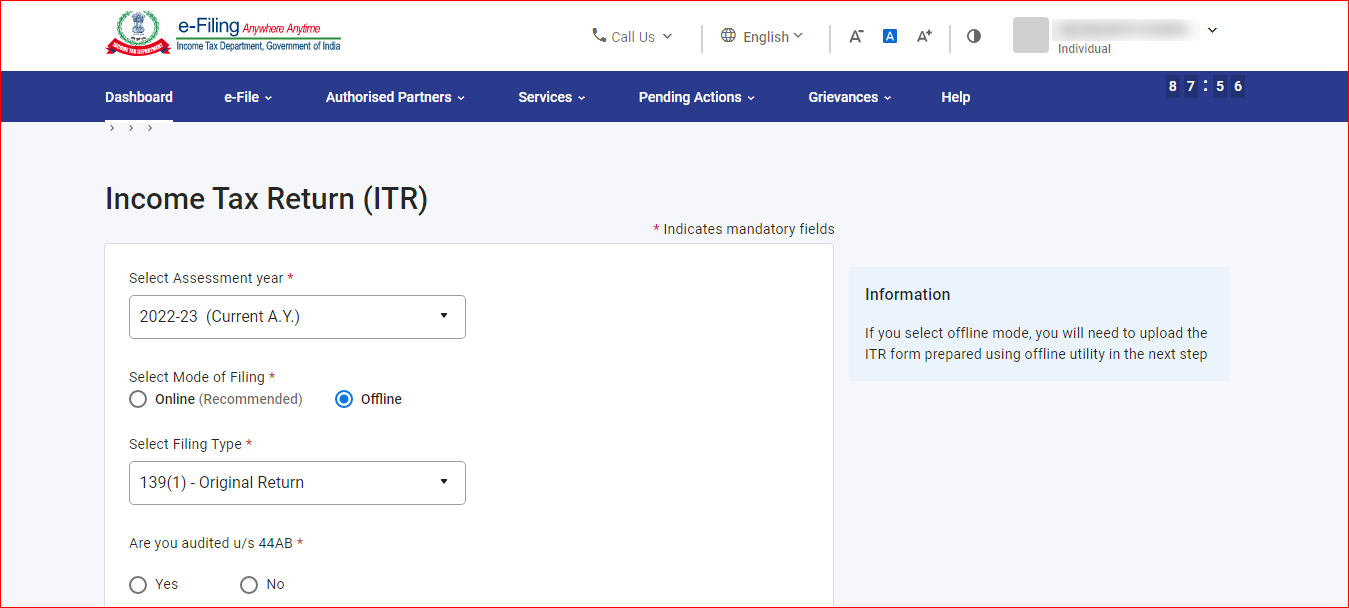
Step 10: Select “Income Tax Return”
Under the “e-File” section, select the option for filing an “Income Tax Return.” Choose the relevant assessment year for which you are filing the return (usually the year following the financial year in question).
Step 11: Upload the XML file
Fill in the required details on the e-filing portal, browse and select the XML file you generated in step 7, and upload it. Make sure to double-check the accuracy of the information before proceeding.
Step 12: Verify the return
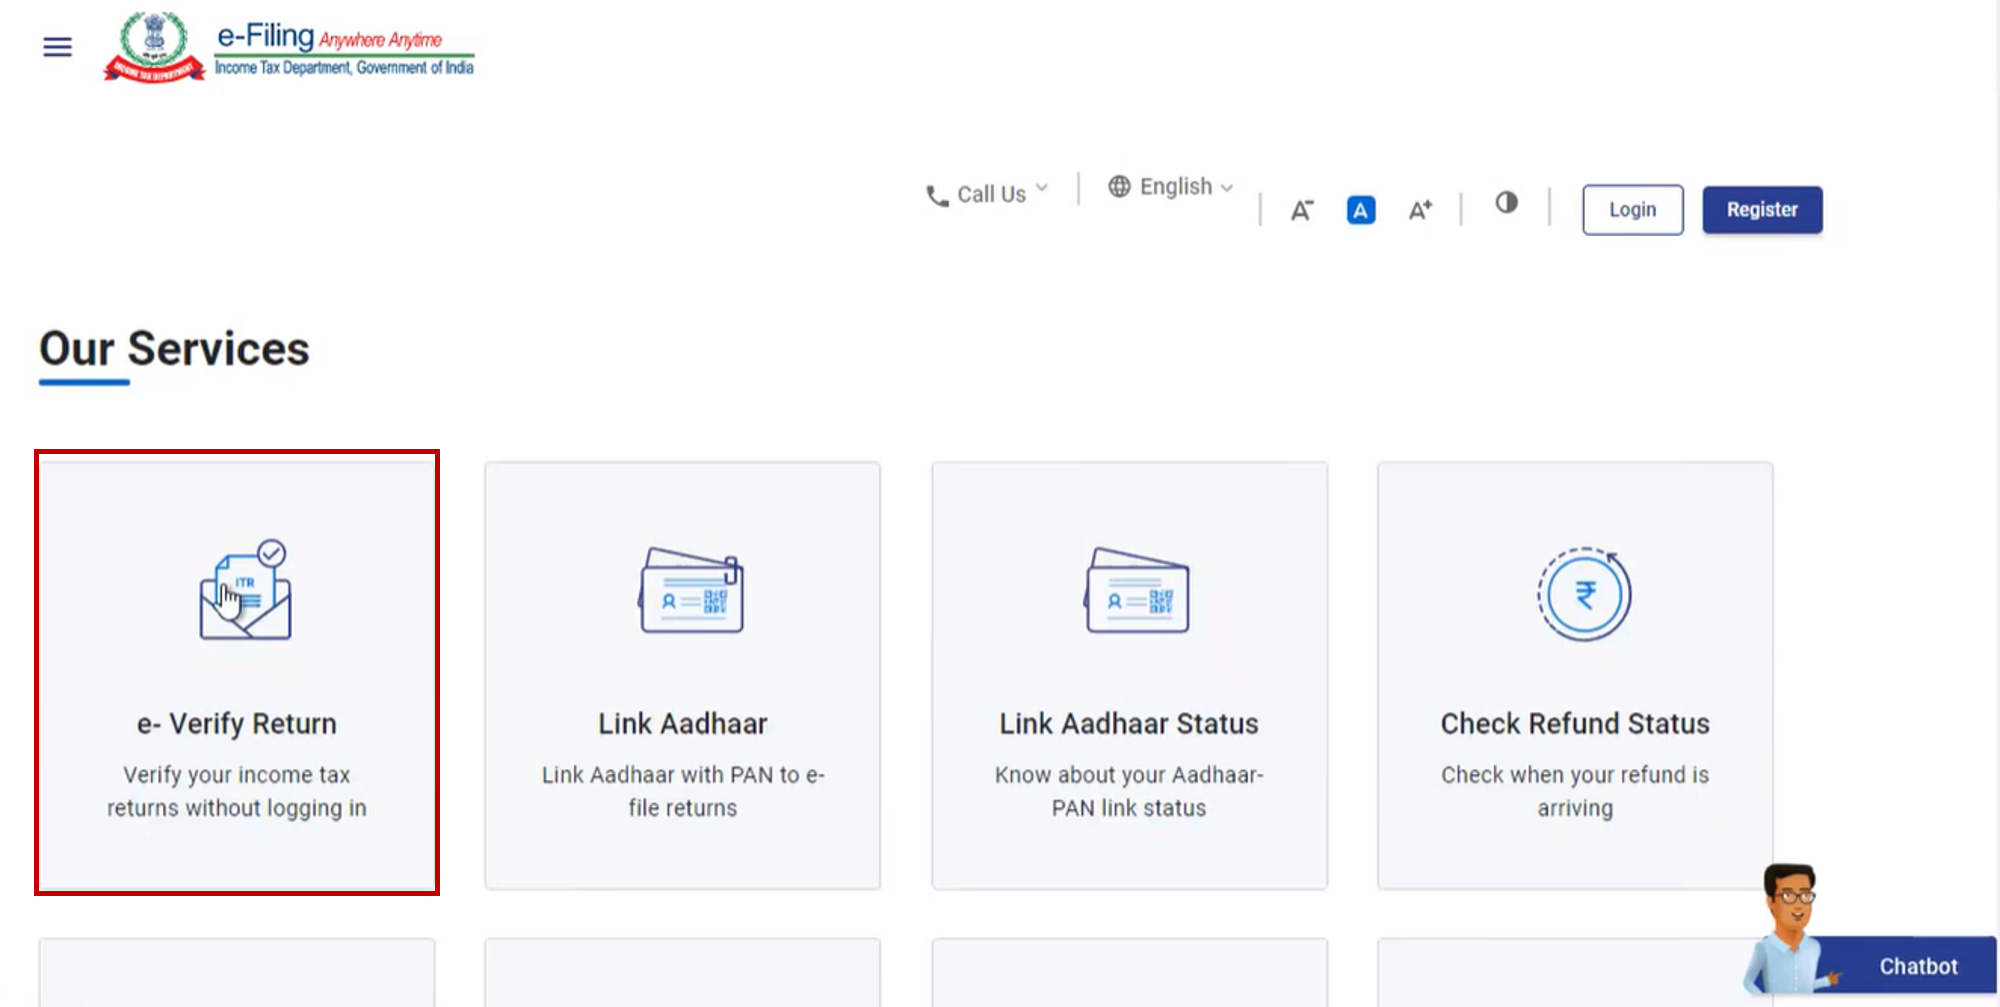
After uploading the XML file, an acknowledgment form, known as ITR-V, will be generated. Download and save this form. You can verify the ITR-V by digitally signing it using a Digital Signature Certificate (DSC) or generating an Electronic Verification Code (EVC). Choose the appropriate option for verification as per your preference and the guidelines provided on the portal.
Step 13: Submit the ITR-V
Once you have successfully verified the ITR-V, submit it by sending a signed hard copy to the Centralized Processing Center (CPC) of the income tax department. Ensure you do this within 120 days of e-filing your return. Alternatively, if you have chosen the EVC option, you do not need to send a physical copy.





Leave a Reply
You must be logged in to post a comment.